
I’ve said it before, and I’ll continue to say it. Rabbit meat is perfect for making sausage.

It is flavorful and lean but not dry (even without adding pork or another animal fat). Herbs and spices blend with rabbit meat exceptionally well. It’s a great base for all of your favorite sausage flavors.
Jump to:
- A Step by Step Walkthrough of the Rabbit Sausage Making Process
- From Carcass to Loose Rabbit Sausage
- A Process that Takes Some Time but Isn’t Difficult (But that is highly Rewarding)
- How to Make Rabbit Sausage, Step by Step
- First things first: Boning out and making rabbit meat trim
- Save what fat there is on your meat rabbits
- After you make your rabbit meat trim for your rabbit sausage
- Steps for Making the Sausage
- Step 1: First grind
- Step 2: Weigh and divide the ground meat
- Step 3: Make your spice mix
- Step 4: Mix in spices and flavorings
- Step 5: Add the liquid
- Step 6: Cooling phase
- Step 7: Second and final grind
- Next Steps Now That You’ve Made Loose Rabbit Sausage
A Step by Step Walkthrough of the Rabbit Sausage Making Process
This article will walk you step by step through making rabbit sausage. The process and the steps are the same for all types of fresh rabbit sausage (basically for all types of fresh sausage for any meat).
Once you have the process down, there are a world of possibilities at your fingertips. More great ways to enjoy your healthful, delicious, nutritious homegrown rabbit meat!
From Carcass to Loose Rabbit Sausage
Here, we’ll go over the process from whole carcass to loose sausage.
That is to say, by the end you will have ground sausage ready to eat, form into patties, package and freeze, or to stuff into casings and make ropes or links.
If you do want to stuff and/or link your rabbit sausage, after this article go on to our other article and videos that cover stuffing and linking.
A Process that Takes Some Time but Isn’t Difficult (But that is highly Rewarding)
We won’t lie. The process of making rabbit sausage takes some time. It’s usually best to do it over at least two days. If you’re making more than 10 or 20 pounds, you’ll want three or four days to work on it.
That said, much of that time is in cooling out the meat so it can be worked with. It’s not as if it takes a full 48 to 96 hours to make rabbit sausage!
If you have someone to help, it will go even faster.
Now, let’s go through the steps it takes to turn meat rabbits into rabbit sausage.
How to Make Rabbit Sausage, Step by Step
If you have basic kitchen skills and if you can follow a recipe, you can make fresh rabbit sausage. And it will be delicious.
It really is that easy.
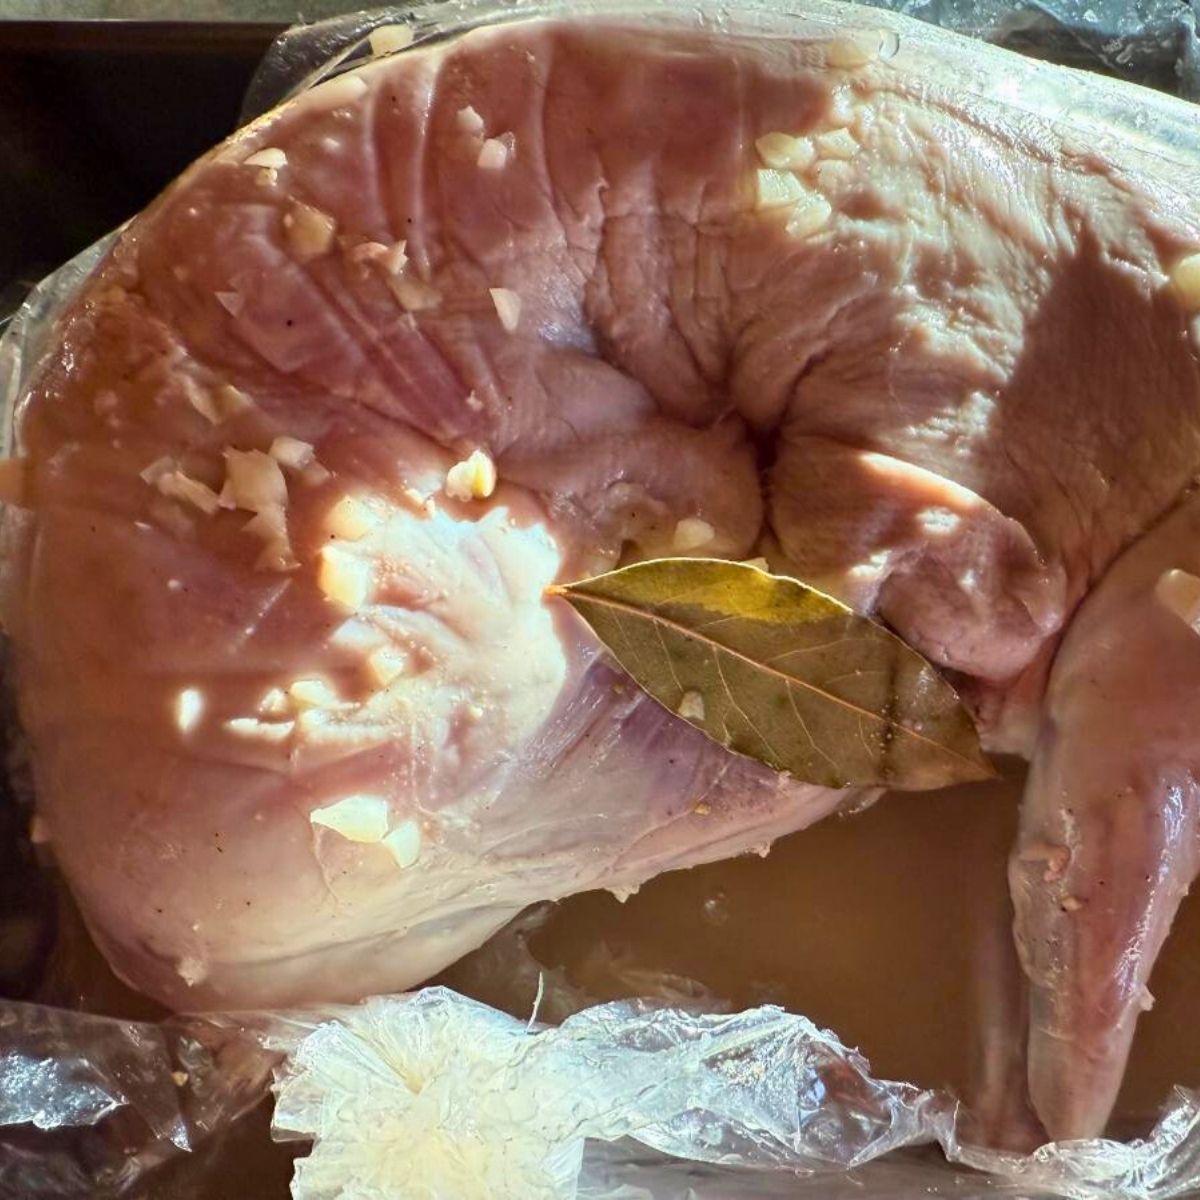
First things first: Boning out and making rabbit meat trim

First, you’ll need to bone out your rabbit carcasses. Learn more about that process here: How to Grind Rabbit Meat + Tips for Boning and Grinding
You can choose to use all of the meat for sausage, or you can make select cuts for other uses and use the rest for sausage trim.
The fastest option is to dedicate several whole rabbits and just debone them and cut the trim into various large chunks of trim.
The nice thing about making rabbit sausage is that it doesn’t matter how you cut the meat or what it looks like when it comes off the bone. It’s all getting ground up anyway!
In fact, making ground meat and sausage is a good way for a beginner to get some practice in deboning rabbits without having to care too much about the outcome (at least looks-wise).
The pieces of trimmed meat can vary in size, and they will because they will come from all different parts of the animal. Some places have large muscle, and some are just thin strips. It’s all fine! And all useful for sausage!
As long as the chunks and pieces you make can fit down the tube of your grinder, that’s all that matters for the cuts of the trim.
The one key to deboning rabbit meat is this:
- Keep the rabbit carcass cold
You’re going to hear this again and again. Cold meat is firm and workable. Warm meat is not. And warm meat is not safe in terms of food safety, either.
Keep carcasses that you’re not actively cutting in a cold refrigerator.
Save what fat there is on your meat rabbits
Rabbits are one of the leanest meats, the leanest of the domestic meat animals that we raise on farms and homesteads.
Your rabbits won’t have a lot of fat on them, but whatever fat there is, keep it. Throw it in with the rest of your trim.
There is nothing “wrong” or bad tasting about rabbit meat...it’s just that we don’t usually have much of it.
*For these instructions, we are making an all-rabbit sausage, which means we’re not mixing in other fats or meats. Some people do, but our goal is to make a sausage that is all rabbit. We love it just this way, and we think you will, too.
If you do want to mix in other fat or meat for texture or moisture, mix about 10 to 20% of another fat (pork, chicken, etc.) into the meat trim. You can use bacon ends, too.
After you make your rabbit meat trim for your rabbit sausage
After you make your trim, you need to cool it all the way through before you can move on to grinding and making the sausage.
Practically speaking, it’s best just to bone out and make the trim one day, then refrigerate overnight and start again the next morning.
Making the trim is usually enough work for one day anyway, especially if you are working alone.
If you have the help and do want to try to grind on the same day, make sure you cool the trim as you go (as in, bone a rabbit, put that trim in the fridge, then start the next one).
To cool things even faster, you can put the trim in the freezer. Don’t let the trim or the grind freeze completely, but a little icy and very cold is good to work with.
It would take several hours in the freezer for rabbit trim to freeze, anyway, so you have time to work.
Steps for Making the Sausage
After the trim is made, the process becomes one of mostly grinding and mixing.
Keep everything cold and only take out what you can grind in about 10 to 15 minutes. Even slightly warm meat will not move through the grinder easily and will get stuck. It takes a lot longer to grind meat that isn’t thoroughly cold.
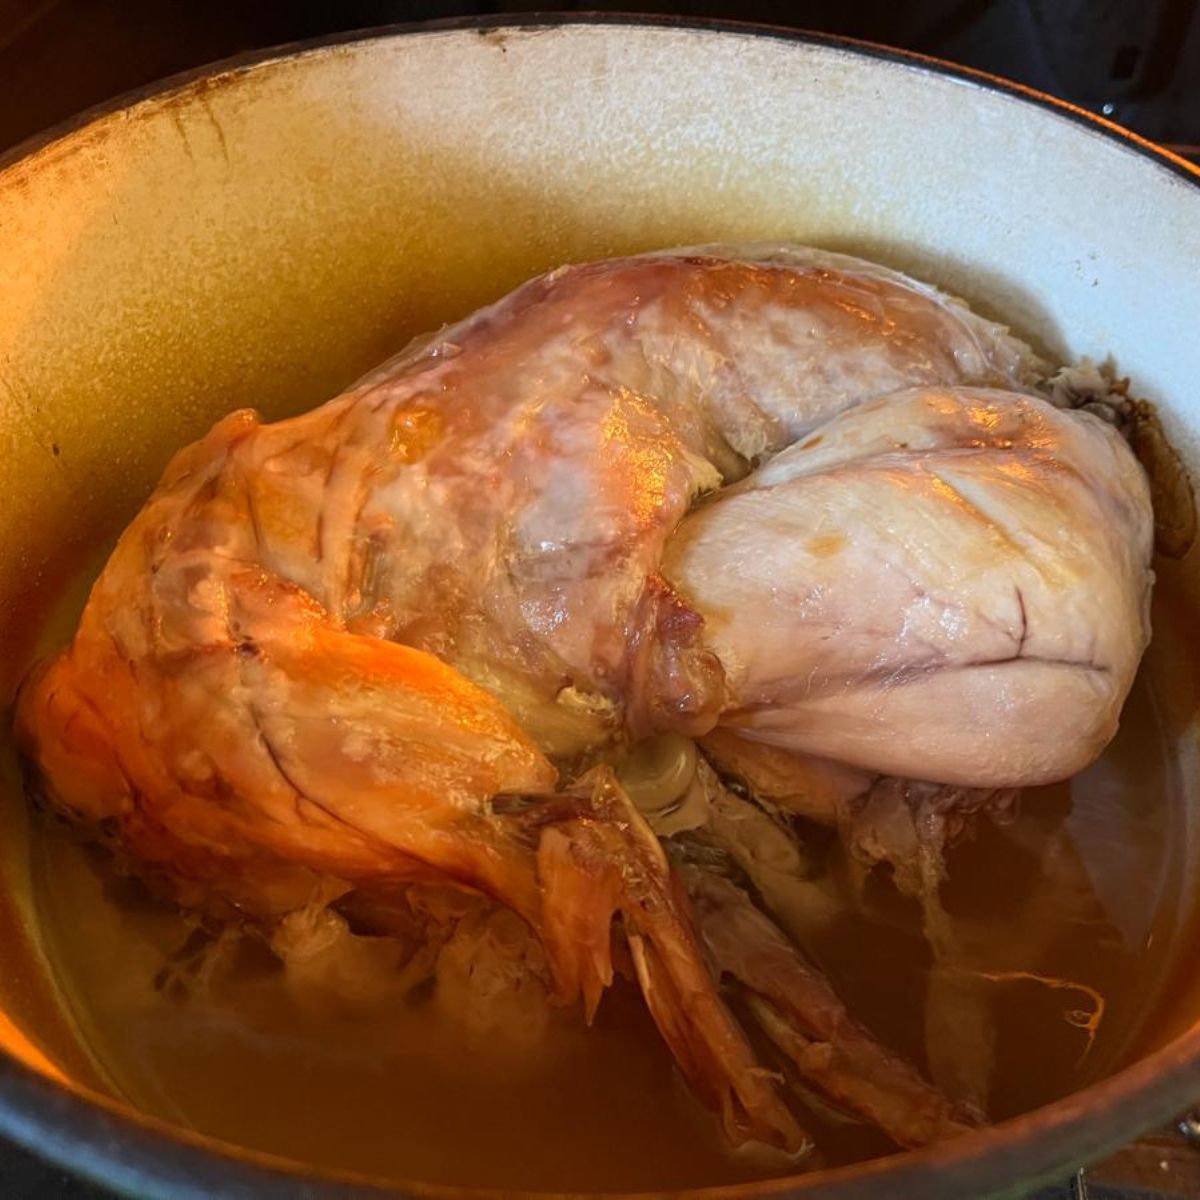
Step 1: First grind

Grind the trim through using a coarse plate. (This will be a grinding plate with larger holes, about ¼ inch in diameter. The plate will have fewer holes than medium or fine plates because the holes are larger.)

For rabbit meat, a medium plate will also work for the first grind.
The purpose of the first grind is just to break down the meat. Don’t worry if there is some stringiness to it or if the grind doesn’t look exactly uniform.
Step 2: Weigh and divide the ground meat

Now that the meat is ground, weight it and divide it into whatever proportions you need for the sausage recipe you are using.
Most recipes (and all of the recipes on this site) will use batches that are in increments of five pounds – like 5-, 10-, 15-, or 20-pound batches.
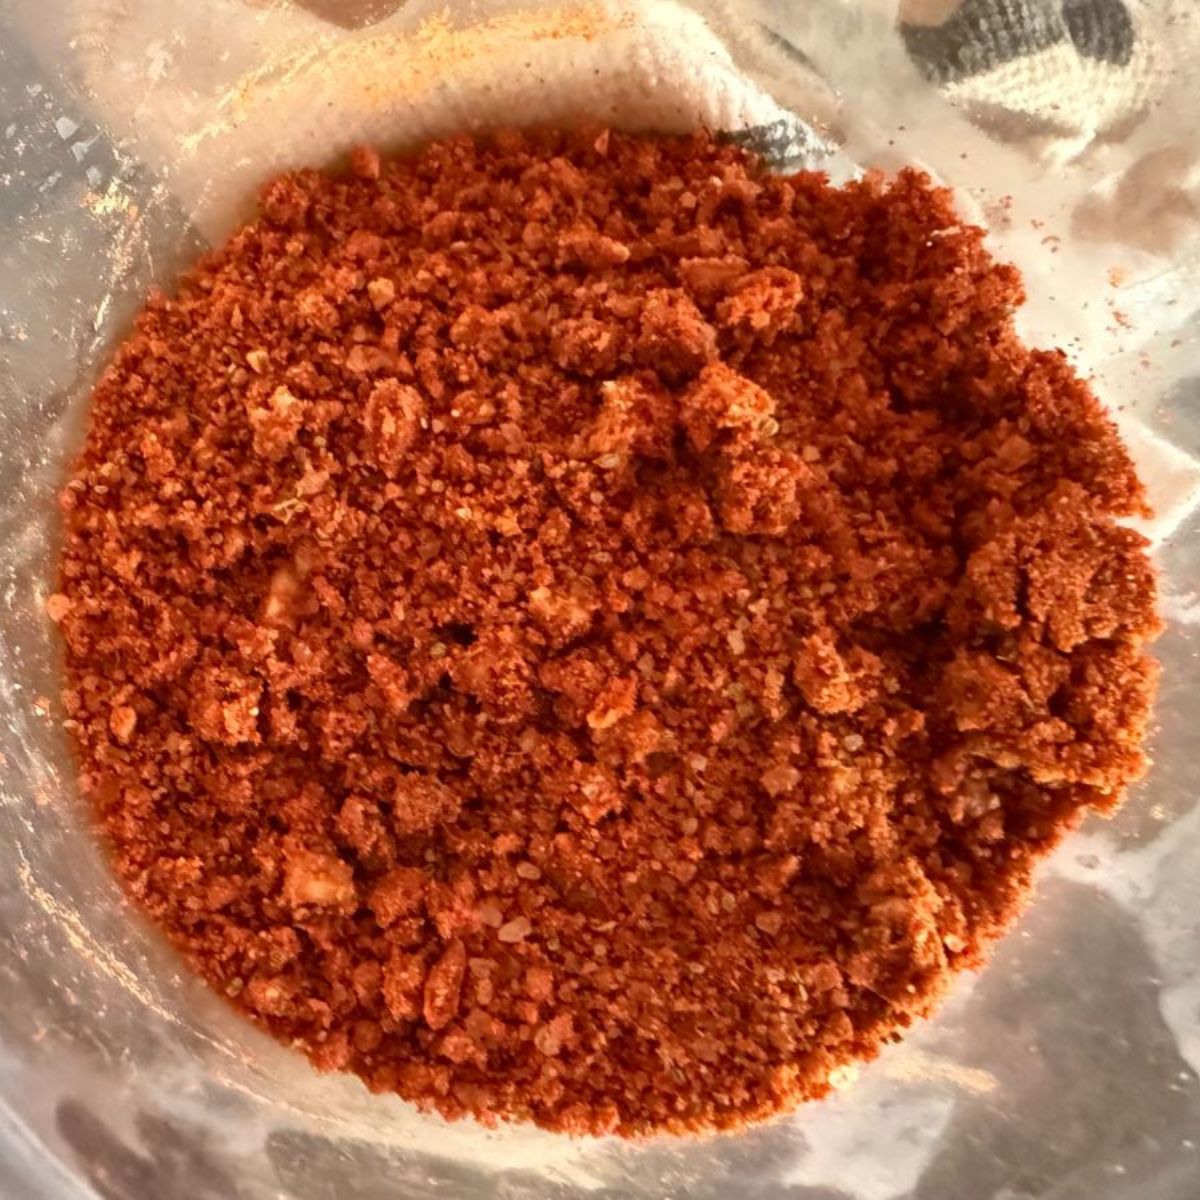
Step 3: Make your spice mix

Measure out and mix all the spices in a separate bowl. You can do this ahead of time, too, if you want – like when you’re waiting for the trim to cool out to start again.
Make a spice mix according to the recipe instructions.
Mix it through to make an even mix.

Prepare any other herbs or fresh ingredients if the recipe calls for them. This, too, can be done ahead of time if that’s what works best for you.
Step 4: Mix in spices and flavorings

Now, take your pre-weighed ground meat and sprinkle the spice mixture evenly over the ground meat.
Mix the spices through until they are mostly evenly distributed. Grinding will also mix the spices in, but you want to go into that step with a pretty evenly distributed mix so you don’t get pockets of spice.

You can use a heavy spoon to mix the spices in, but gloved hands are often easier when you’re dealing with this much meat.
*Some sausage makers say to mix the spice into the trim before the first grind. You can do this, too, but I prefer to mix it into the ground meat after the first grind. It seems to mix into the meat better this way, with less spice and flavor getting lost in the grinder.
Step 5: Add the liquid

Sausage recipes will almost always include a measure of liquid of some kind. This may be ice water, or it may be something with more flavor, like beer or wine.
It may seem like adding liquid will give you a runny sausage mix, but it won’t. It will help to blend and distribute the dry spices and it will also help the sausage to move through the grinder (and the stuffer, if you choose to stuff and link your sausage).

To add the liquid, it’s easiest to mix if you flatten out the grind and work some dents into the meat with your fingers, then pour the liquid over the meat. Then just mix it in.
It’s best to add the liquid when you are making the sausage mix before you return it to the refrigerator to cool out again. That way, the whole mix will be cold and ready to go when you move on to the next step, and the meat won’t be warmed by adding a warmer liquid.
Step 6: Cooling phase

Next up is – you guessed it – another round of thorough cooling.
Return the sausage mix to the refrigerator or the freezer for several hours or overnight. If you start early enough and have enough hours in the day, you can complete these steps and the final step, number seven, on the same day and be done.
If not, overnight is fine, and you’ll have one step to go the next day.
Step 7: Second and final grind

You will need to grind your sausage one more time. This will break down any of those stringy parts or larger lumps and will give you a finer, more consistent grind. It will also help to make a nice, even mix of the spices, flavorings, and ingredients.
Rabbit meat is a finer meat that can become mushy if it is ground through too fine a plate. (It is similar to chicken this way.) This is purely a matter of preference and a judgment call, but if you find the texture comes out too emulsified (like a hot dog), use a larger, coarser plate.
This is only a texture issue, so feel free to use the plate you prefer.
My recommendation is to use a coarse or medium plate for the second grind. This may even be the same plate you used for the first grind (for me, it usually is).
After the second grind, you have made fresh rabbit sausage!
Next Steps Now That You’ve Made Loose Rabbit Sausage
Now that your loose rabbit sausage is done, you can decide how you want to use it and package it.
If loose, crumbled sausage is what you like, that’s fine, and you can stop here.
Your sausage is ready to eat!
Go ahead and package it and freeze whatever you’re not using.
You can also shape your rabbit sausage into patties, just like how you would make a hamburger patty. Patties can be whatever size you like them.

The other option is to stuff your fresh rabbit sausage into casings. This will make a rope of sausage. You can then twist it into links if that’s what you like.

Of course, you could do a combination of any of the above for more options and versatility, too!
If it’s links you want for your rabbit sausage, move on and read our article (with videos) where we show you how to make rabbit sausage links.

CW
Hi there, you mention things like spices and liquid, but there aren't any measurements listed (or am I missing them..?). I'm also seeing a green.. paste. What's in that?
Thanks for your time!
Mary Ward
HI! All the sausage recipes are here on the site, in the recipes section: https://meatrabbits.org/category/recipes/
The green paste you're seeing is pesto. It is used in the Rabbit Pesto Sausage (and it's delicious!): https://meatrabbits.org/pesto-rabbit-sausage-recipe/