
Whole rabbits can be used in many ways, but over time, and with the more rabbits you grow, you are bound to want more convenience and more options.
In my own home, I find that having rabbit prepared in cuts and grinds means I use more of it. And that’s what it’s all about—being more sustainable, saving money with the meat we raised, and having more lean, protein-rich quality meat in our diet.
We’re all busy people, so taking the time to bone out your rabbit meat and make ground rabbit and/or cubes for stew meat (or so many other uses!) is a good use of your time. You’ll be amazed how much more rabbit meat you eat (and enjoy) when you have it on hand, ready to pull out from the freezer and use.
Boning rabbit meat for cubes and grinds is easy. There’s no need to stress. The cuts don’t have to be pretty, just practical. Here’s how to do it:
Jump to:
What you’ll need:
- One or two good, sharp knives
- A cutting board or surface. It needs to be cleanable.
- Containers to put cut meat into—if you are doing both cubed and ground, keep two separate bowls or pans on hand—one for consistently sized cubed meat and one for trim of any size to be ground
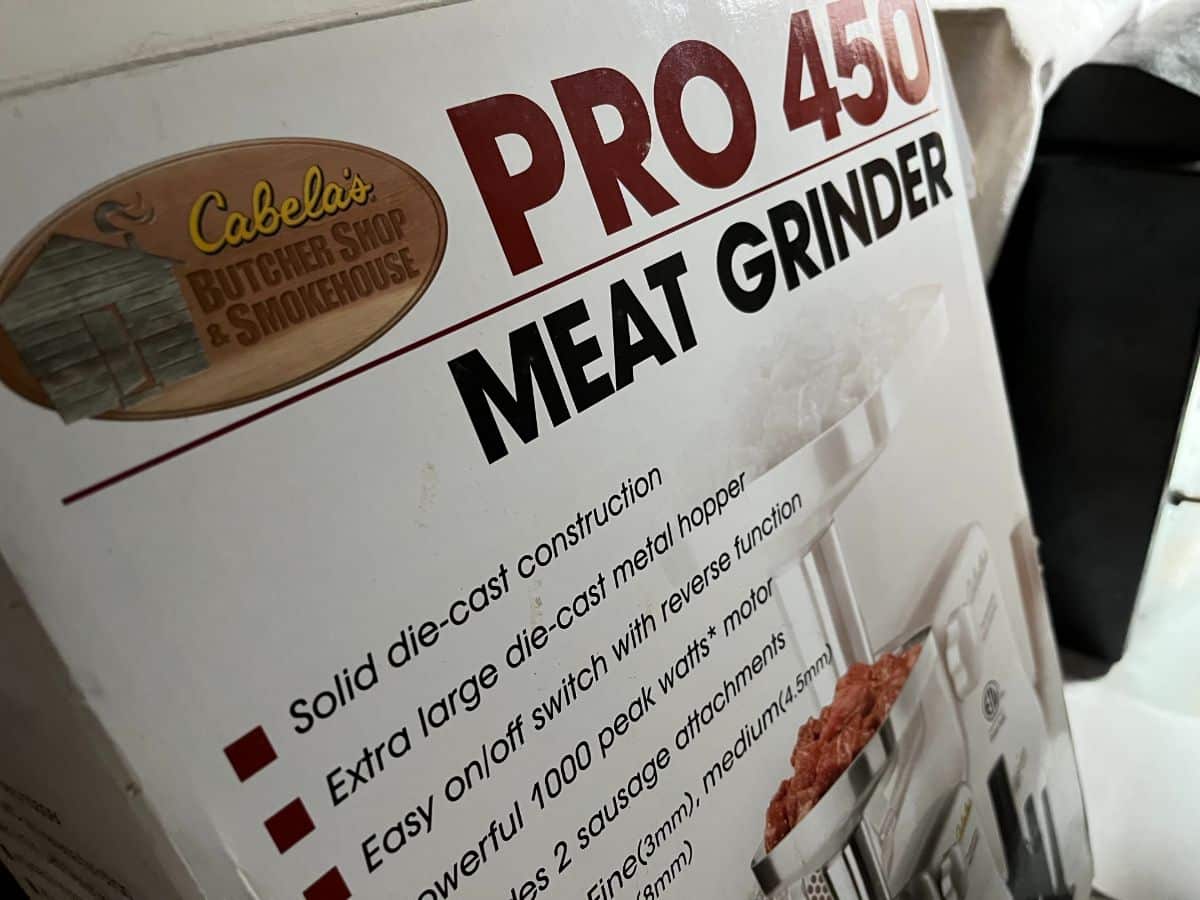
- A meat grinder for ground meat
- Bags for freezing and storing
There are many options in home meat grinders. A small or medium-sized homeowner meat grinder will make faster work of things and is something to consider if you plan to do a lot of grinding.
I’ve used KitchenAid Stand Mixer grinding attachments successfully for small amounts of meat.
If you’re willing to put in more manual work, you can use a hand meat grinder, too.
Boning and grinding starts with your knives:

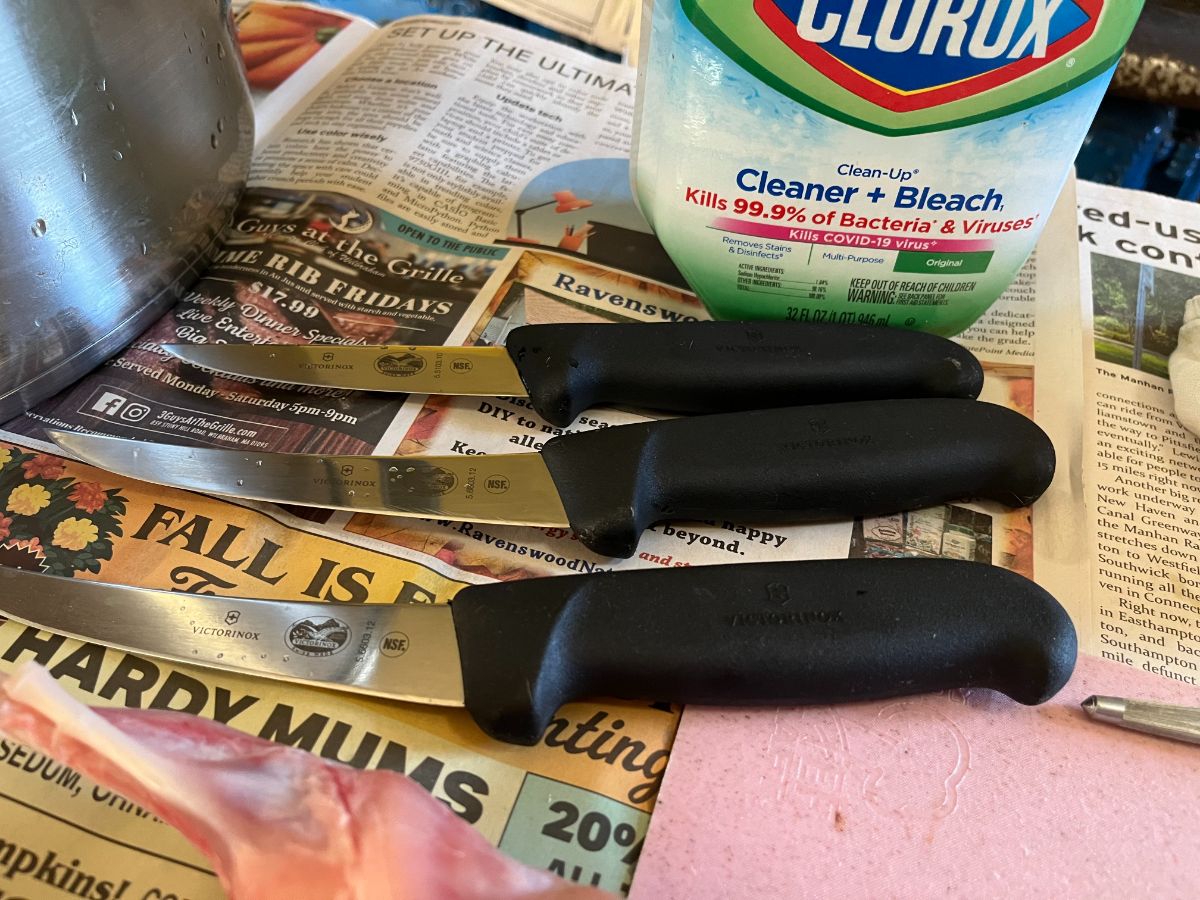
You want a decent meat grinder, but you want to invest in a really good boning knife or two. Good quality knives make all the difference.
I recommend a knife with a 5- to 6-inch curved blade. You may also want a smaller four-inch knife, though the five/six-inch knife will do the job and get in all the places. You’re most likely to use this knife most (if not all) of the time.
- Invest in good boning knives. You want a boning knife with a semi-flexible but firm blade that is slightly curved.
- Learn to sharpen knives
- Honing your knives with a honing steel finishes and restores the edge and keeps the blade in good shape as you work
- Sharpen and hone knives before you start
- Hone as needed while working
A quality knife is designed to last for years, even with heavy use. It should have a quality blade that can be sharpened and resharpened. It’s a moderate investment, not too expensive, but you'll thank yourself for it. Good knives make faster, safer work of boning out meat.
I recommend this knife from Victorinox. It’s affordably priced, used, and recommended by professional butchers and will do all the boning you want it to do.
This is their four-inch “rabbit knife” version, which I also own and use.
First, the boning:

There is no big secret to boning rabbits when your purpose is cubed and ground meat. If you want more specific cuts, pieces, or a whole-rabbit roll, you’ll need to watch some good videos (YouTube is great for this) and practice as you go. Practice is the only way to get at anything, and this is true for boning out rabbits.
When your end product is intended for something like grinding or stew meat, it doesn’t matter how skilled you are. Don’t overthink this. Too often, people do. And then they scare themselves away from butchering and cutting their rabbit meat. And that’s a shame because being able to cut and process your rabbit meat into a variety of products is how you get the highest and best use.
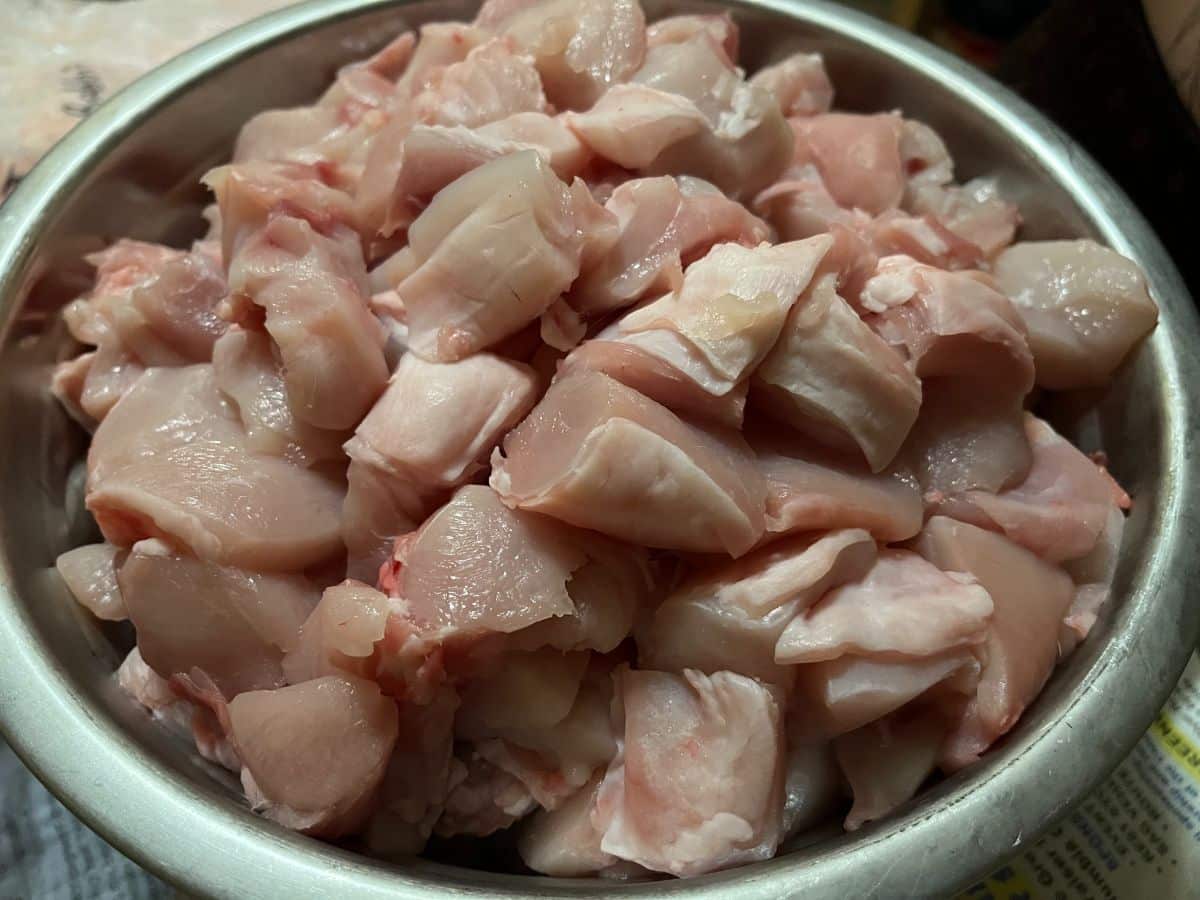
For grinding, it doesn’t matter at all how the meat looks when it comes off the bone. For cubed rabbit meat, chunks, kebob meat, and stew meat, all that matters is that you have some of the first cuts large enough to cut into cubes of your desired size. (And that size can be whatever you decide it should be. I recommend one to two-inch cubes).
Here are some good, basic tips and instructions for boning out a rabbit for making cubed cuts and ground rabbit meat:

- Start with a well-cooled, chilled rabbit
- Chilled meat is stiff and offers more resistance, which means it cuts cleaner and easier
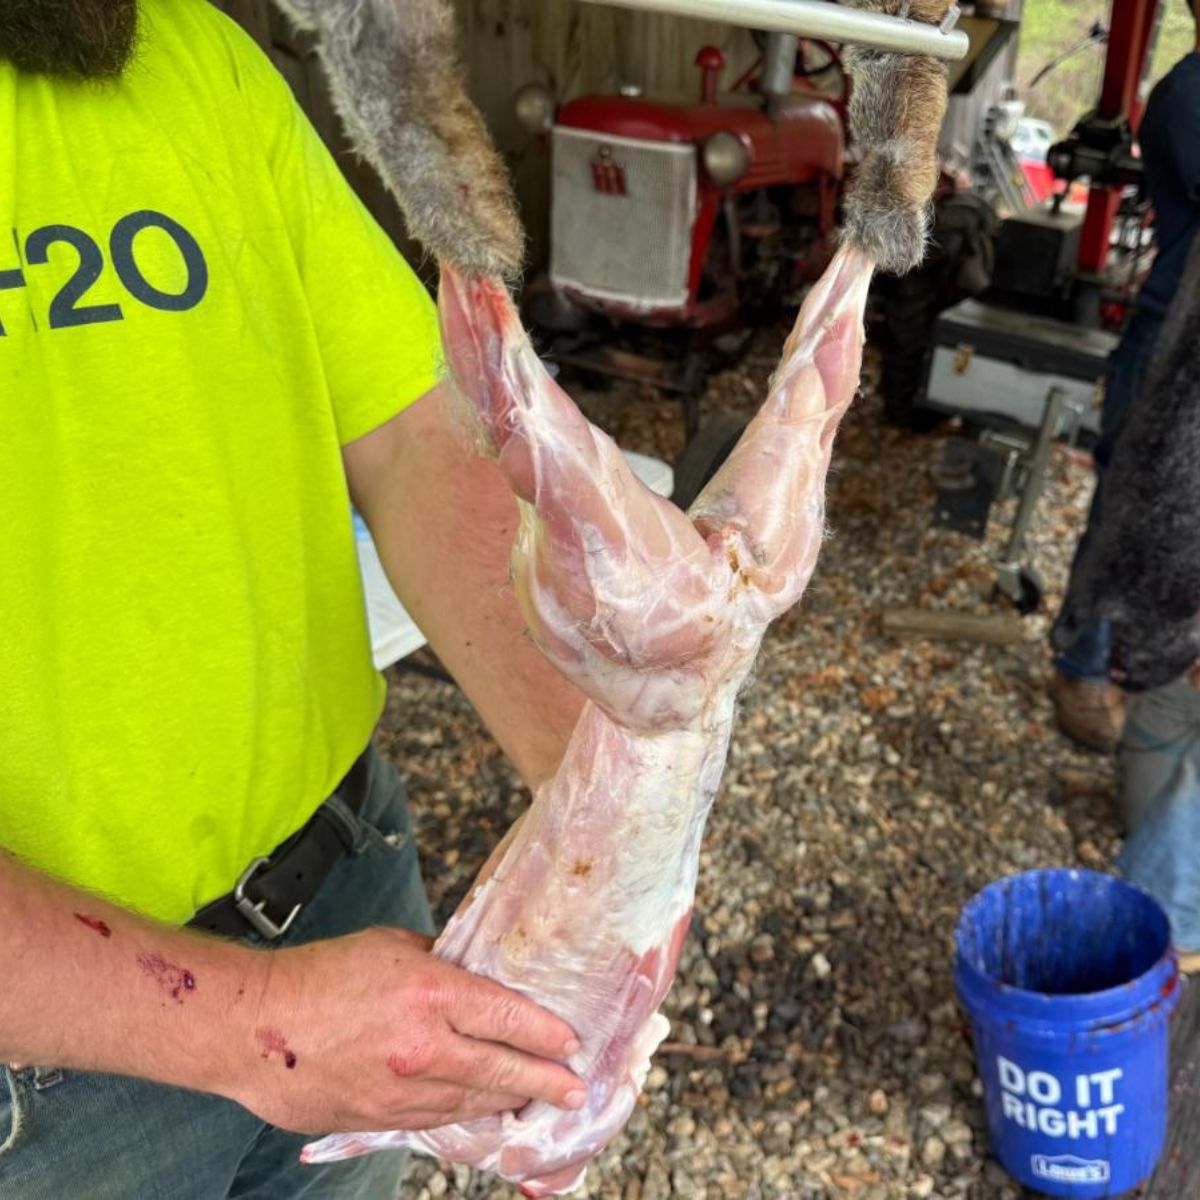
- It's easiest to cut the front and back legs off completely.
- For the back legs, press down on the back of the spine to spread and start to separate the legs; then, pull the legs backward toward the back of the rabbit (the spine area). This should pop the legs out of the joint where the thigh bone is joined, and then you can cut through the joint space between the joints/bones.
- To remove the front legs, pull them away from the body towards the back/spine. You may need to cut a little under the shoulder between the muscle pieces. Bend the legs back to pop the joints at the shoulder, then cut through the joint area as you did with the back legs.
- You don’t need to break the rabbit all the way down into pieces because you are after trim for cubes and grinds. This is as far as you need to break the rabbit down.
- Now, start cutting the meat away from the bone. I start with the body, starting at the top of the neck and working the knife in long, clean strokes as close to the bone as possible (so that you get as much of the meat as you can).
- Work the top part of the body around the ribs, then move down and around the body until all the meat—including the loins and muscle on the inner and underside of the body—is removed.
- Now, work on the leg pieces. Cut close to and along the bone. Remove as much meat as you can. You may want to skip boning the smaller sections of leg bone (especially on the front) because there is a tendon, and the reward is small. I often find it easier to just throw those in the stock pile to make stock or bone broth.
- If you are making cubed meat for stew meat, etc., choose the largest chucks with the least cartilage.
- There are good, large pieces of muscle on the thighs that are good for cubes because they are some of the largest, thickest pieces of meat on the rabbit.
- The tenderloins make good meat for cubes and chunks, too, because they are also thicker and are good and tender when cooked.
- Cut meat into cubes of similar size and thickness.
- All other pieces can be put into the trim pile. It doesn’t matter at all if they are hacked, cut, or vary in size. Not at all. It all gets ground anyway.
- All that matters for trim pieces for grinding is that the piece is narrow enough to fit down the feed tube on the grinder. It can be long—long pieces will work through the auger.
I highly recommend you reserve all the bones and carcasses to make rabbit bone broth or stock. If you don’t have time to make it now, just throw the bones in bulk bags in the freezer for another day. This makes an excellent, healthful, useful product, but also reduces your waste to near zero!

Truly, don’t overthink this. Use it for practice making cuts if you want, but just get the meat off the bone. The bones are a guide for your knife, and if you follow them, you’ll get as much meat off as can be gotten.
Grinding Your Rabbit Meat Trim
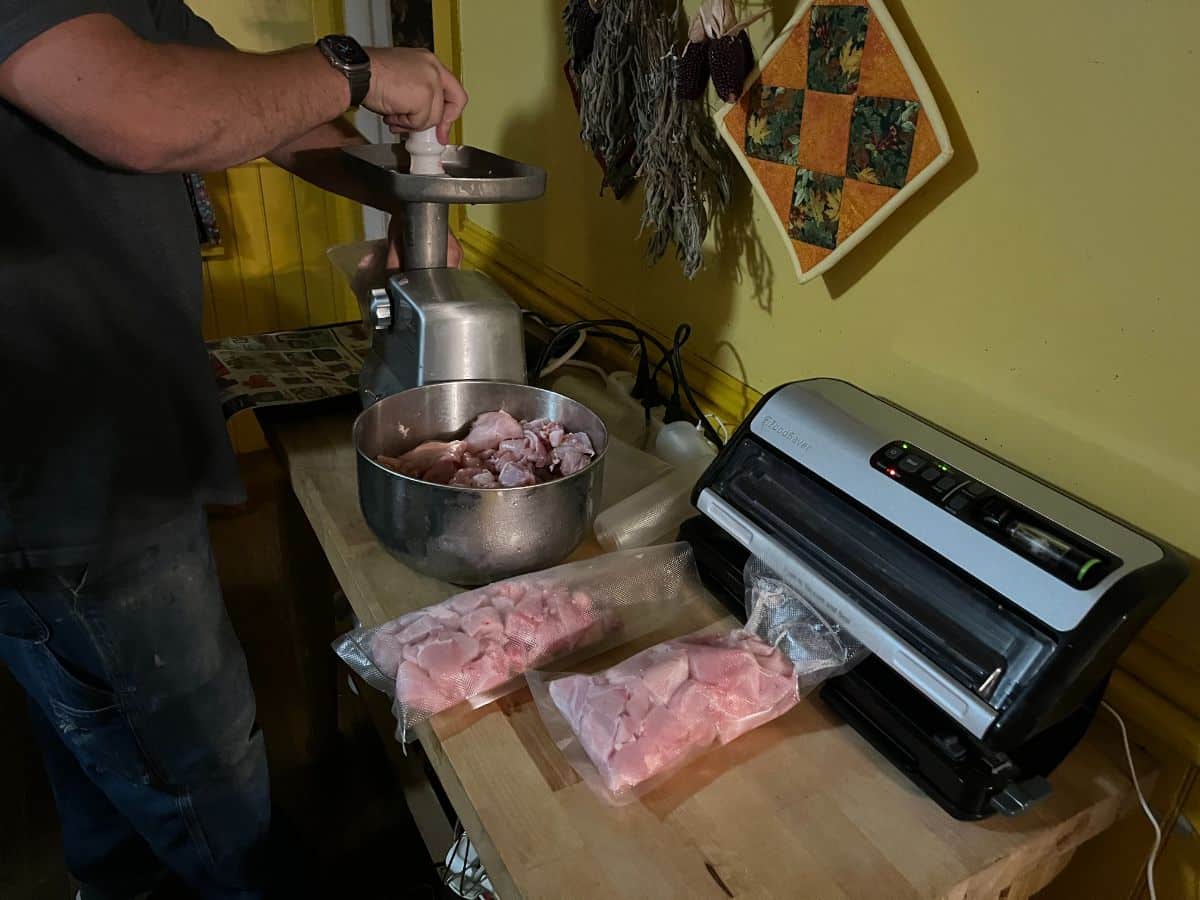
The meat of any kind should always be kept cold while you are working it. This is very important when you are grinding meat because the meat will get stuck and bind in the grinder if it is not cold.
After boning out your rabbits, put the trim in the refrigerator overnight or in a freezer for several hours before you start to grind. It must be cooled all the way through, and it should be firm, even partially frozen.
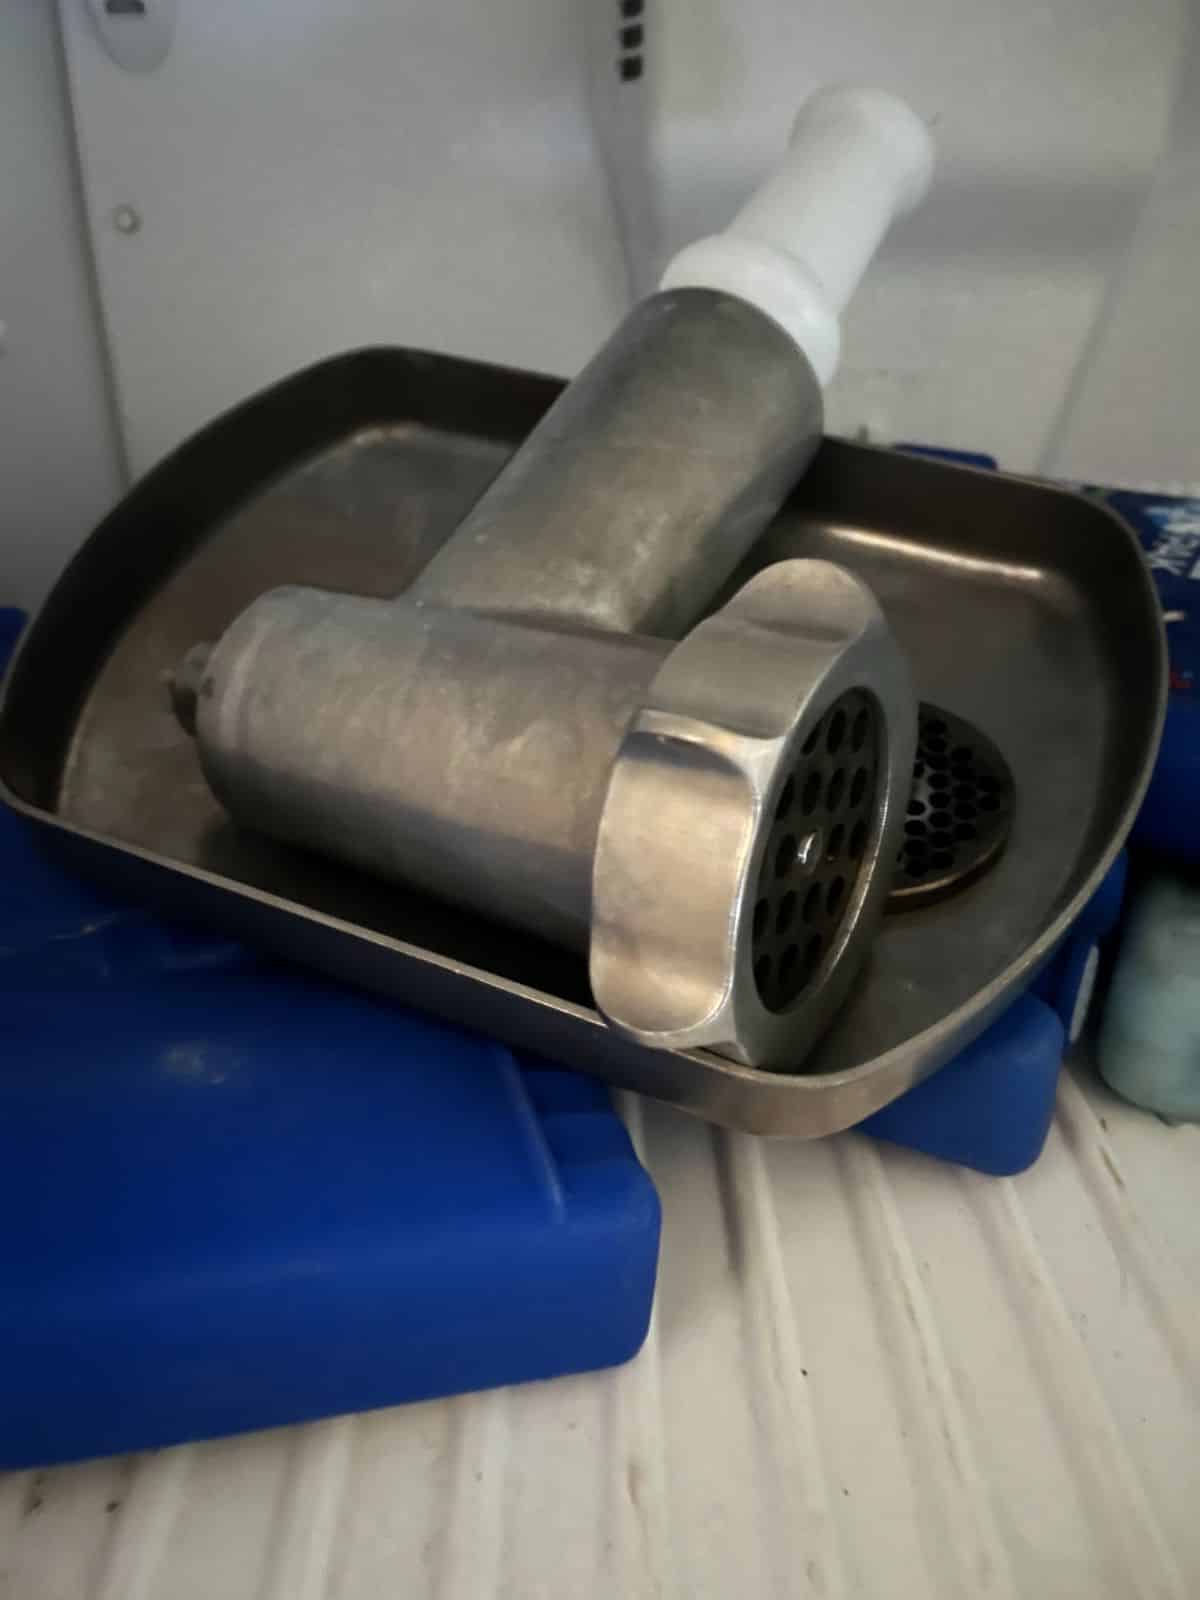
It also helps to put the tray and grinder parts (the removable parts that the meat will touch) in the freezer for several hours or overnight so that it is chilled and does not warm the meat up while you work. Chilling the parts just makes life easier!
Rabbit meat is small and fine, so it does not need to be ground as much as beef or pork. Treat it more like chicken. If you work it too much or grind it too fine, you may not like the result. You may find it is too mushy and emulsified.
My personal preference is to use a medium plate and grind only once. This will give you a larger grind similar to ground pork or hamburger in texture when you cook it. You can also use a coarse plate, but you might find the end product is a bit too large if you are not grinding it again with a smaller plate.
You can grind it a second time with a medium plate and/or a fine plate if that is what you like. If you do grind more than once, the meat must be chilled again between grindings. If not, again, you will struggle, but you will also turn the meat to mush. And warm meat is a food safety hazard.
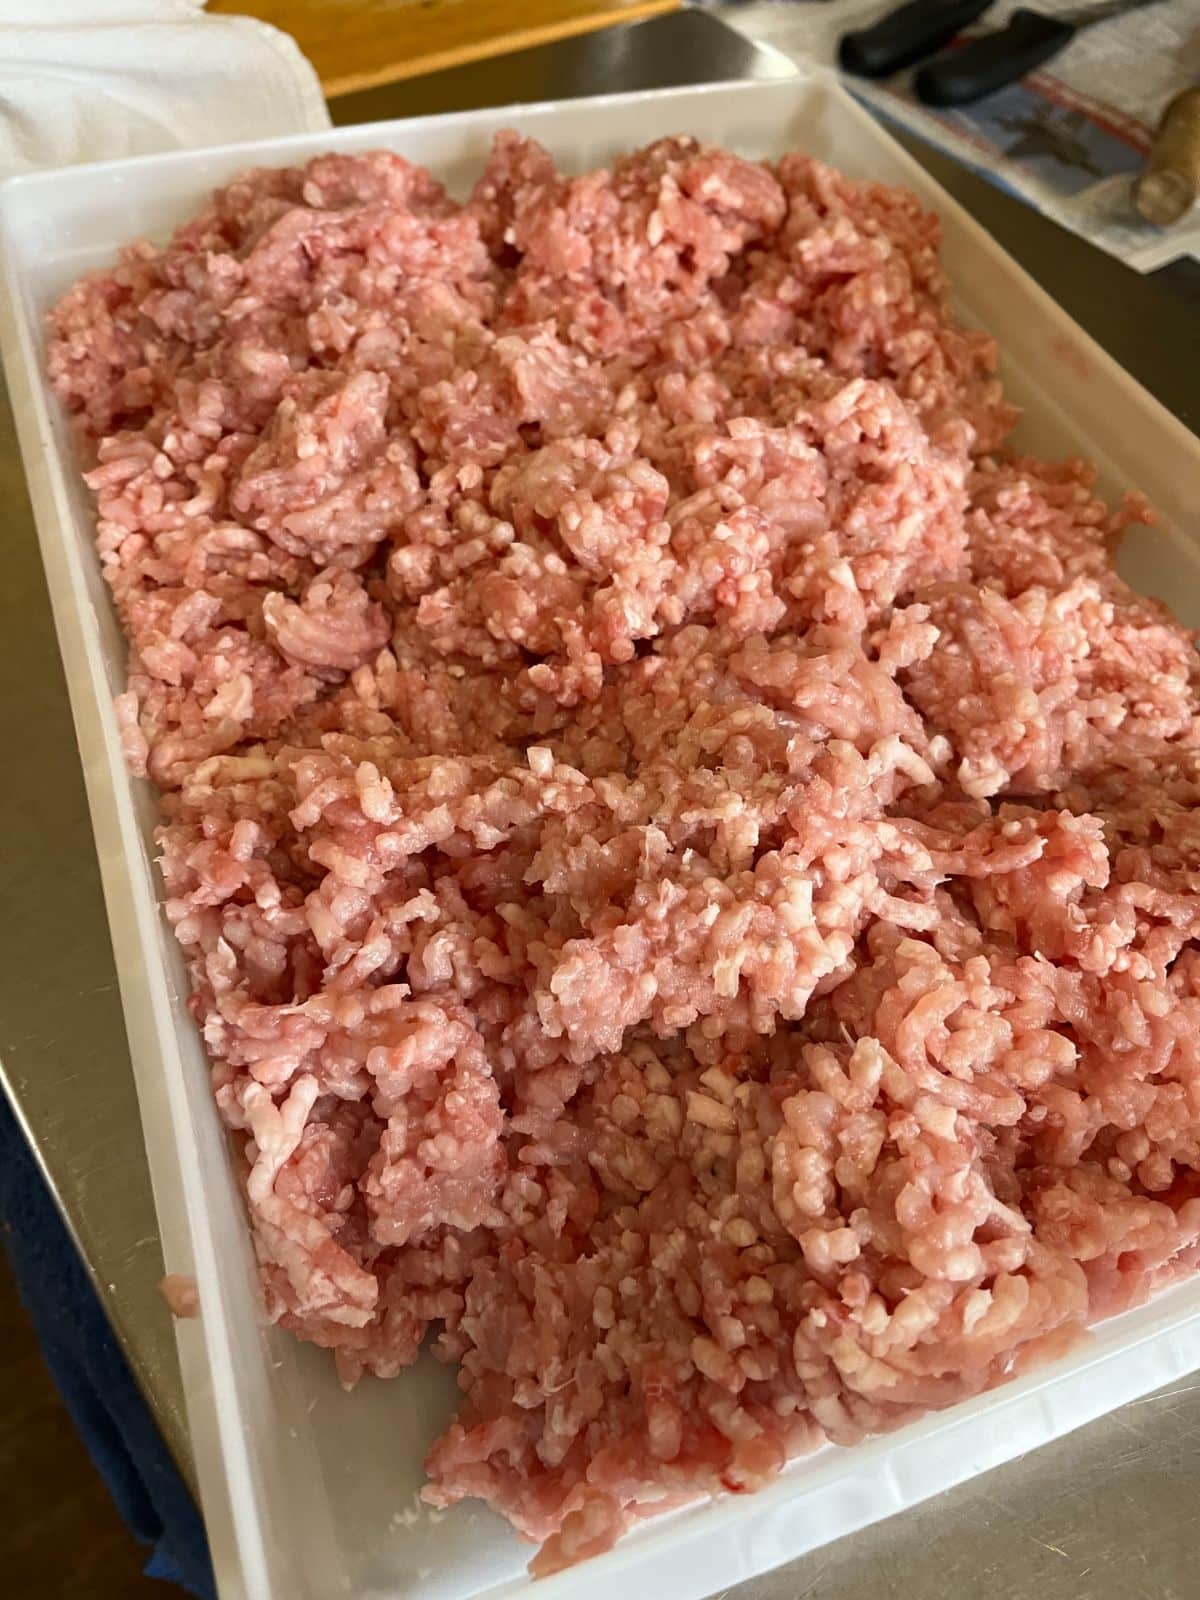
A second time grinding will mix any fats in more consistently and give you ground meat that is more uniform. That said, there is so little fat in rabbit meat that the second grind doesn’t matter much, and the meat is quite uniform after just one grind. Grinding only once with a medium plate saves a lot of time and gives a very good end product.
A fine plate is about 3 millimeters (hole size), medium is 4.5, and coarse is 8 millimeters.
It cannot be said enough—cold meat makes all the difference. Warm meat on a fine plate or ground too many times will be mush. Cold meat through two grinds and even down to a fine plate will still have a good texture and crumble when cooked.
To summarize how to grind your rabbit meat:
- Cool grinder parts in a freezer
- Cool the trimmed rabbit meat completely in a refrigerator overnight or in a freezer for an hour or two
- Keep all meat that is not being worked in the refrigerator or freezer
- Grind the rabbit meat through a coarse or medium plate
- If you choose to grind again, cool the ground meat and then grind again, going down one or two sizes in plate size
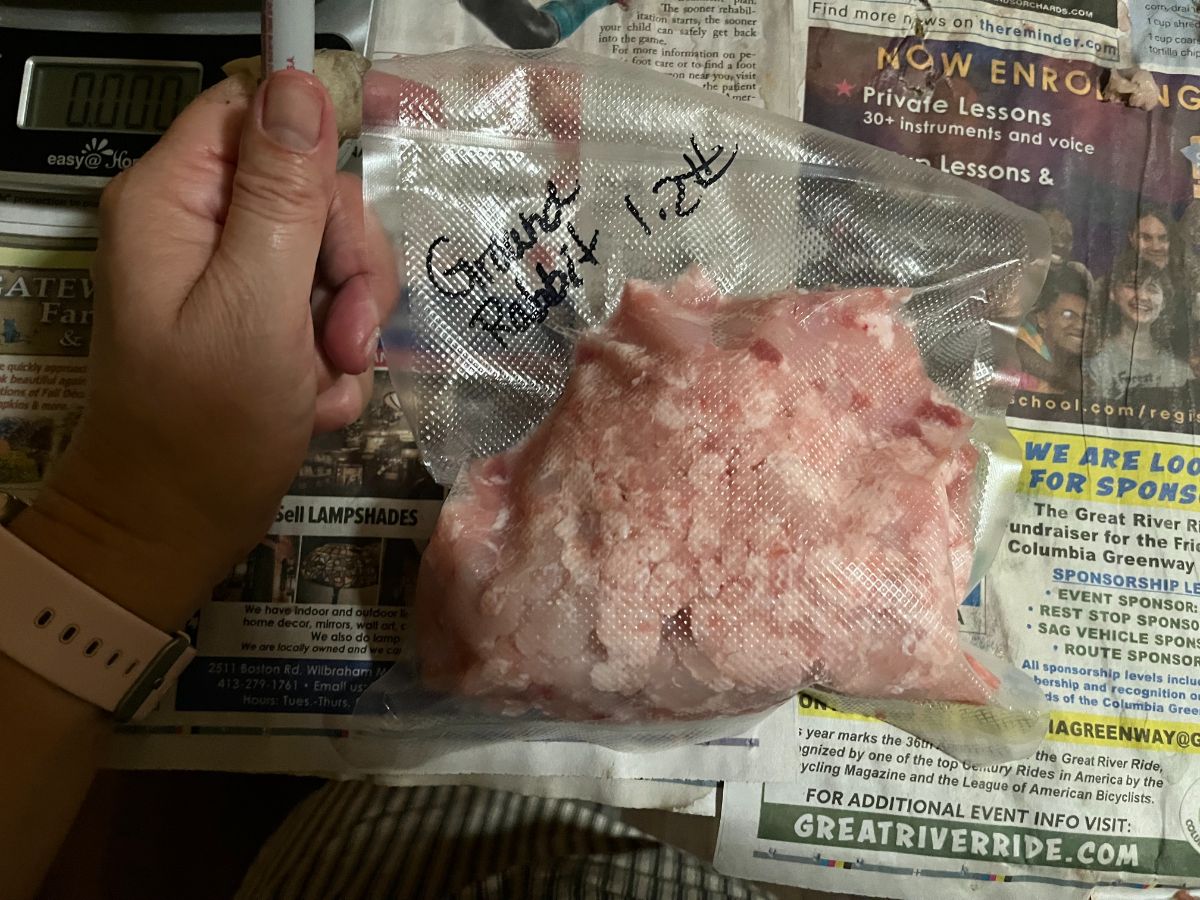
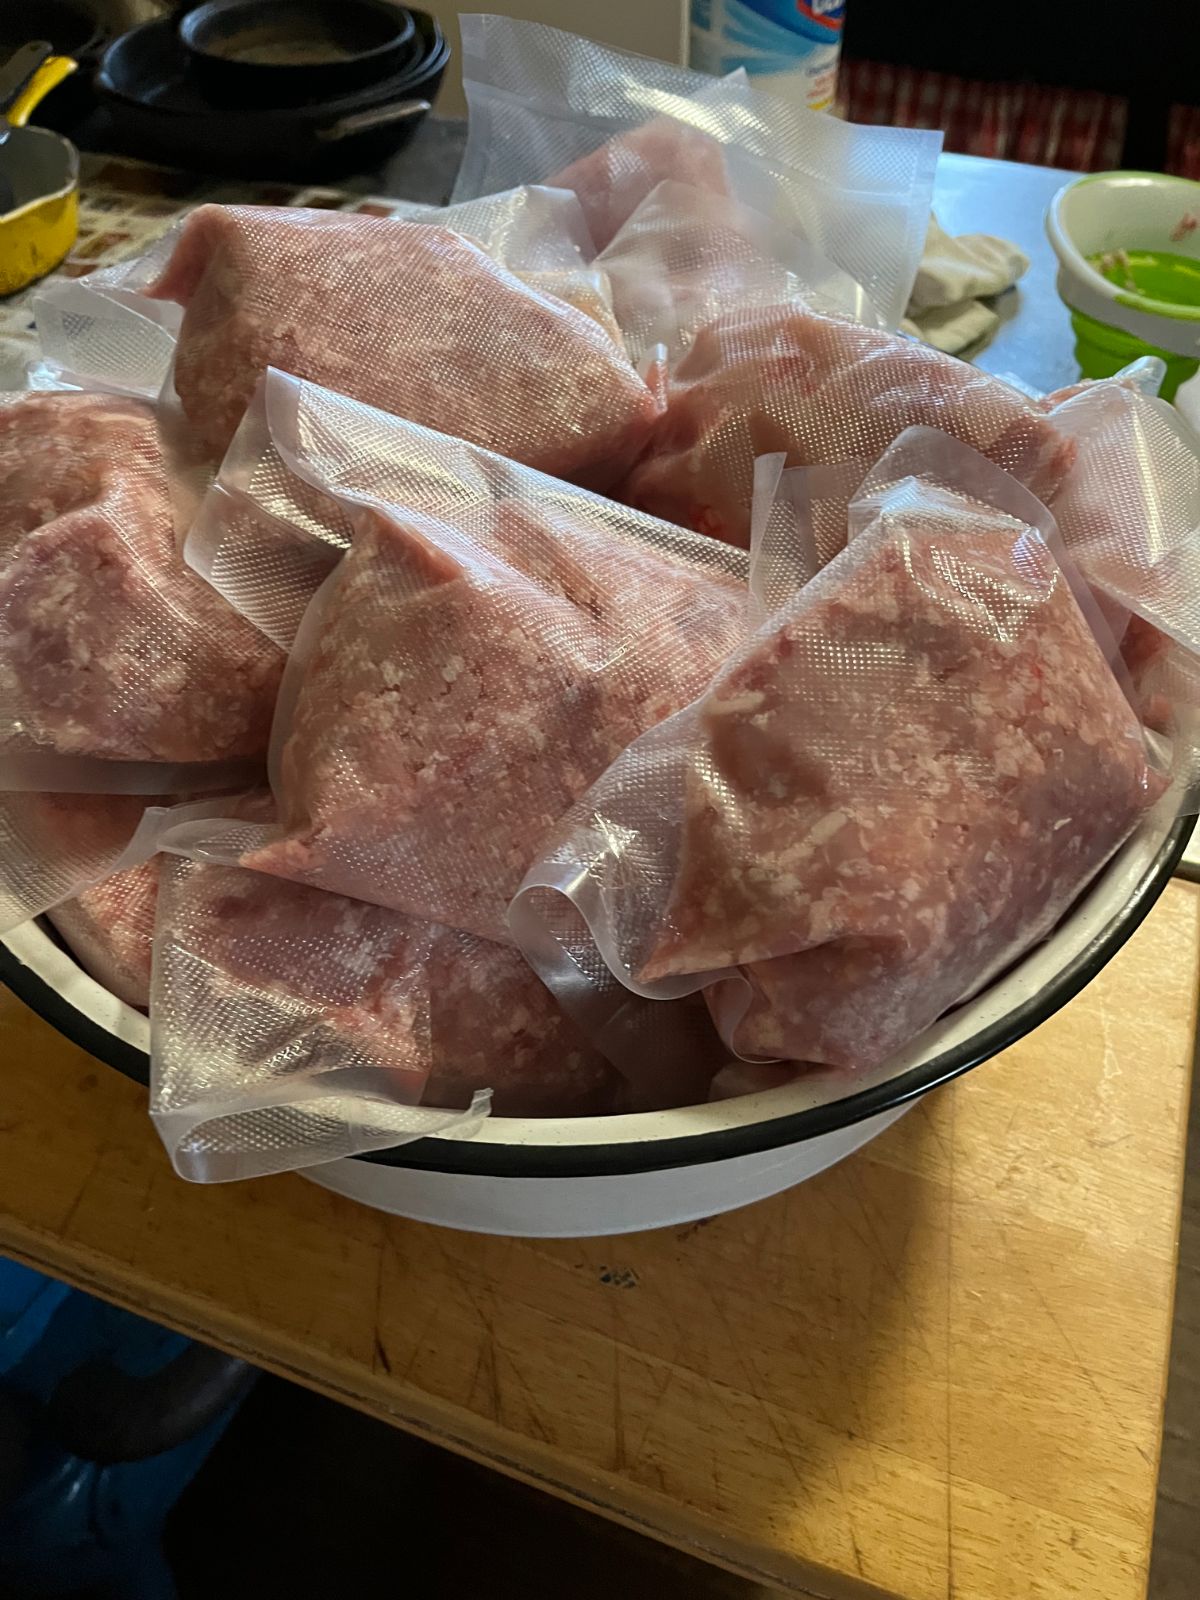
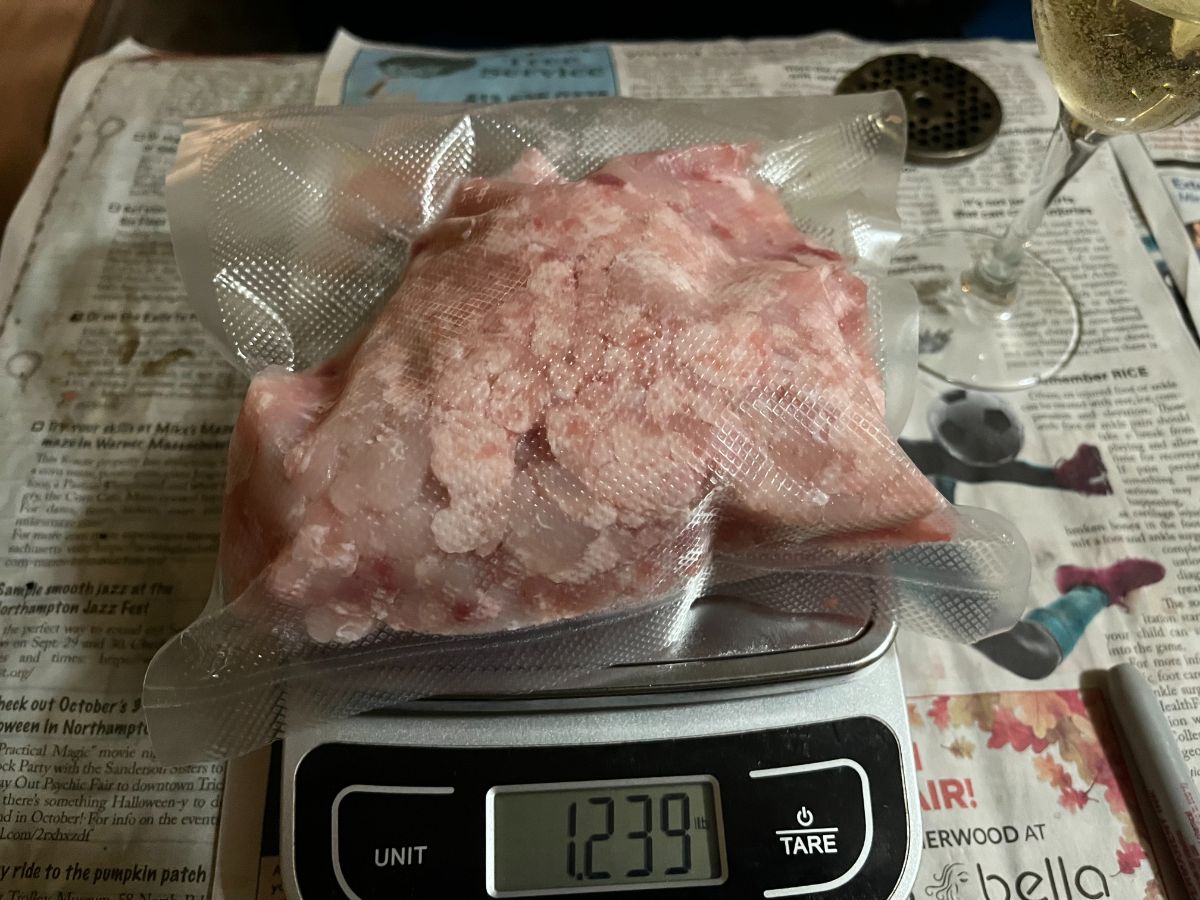
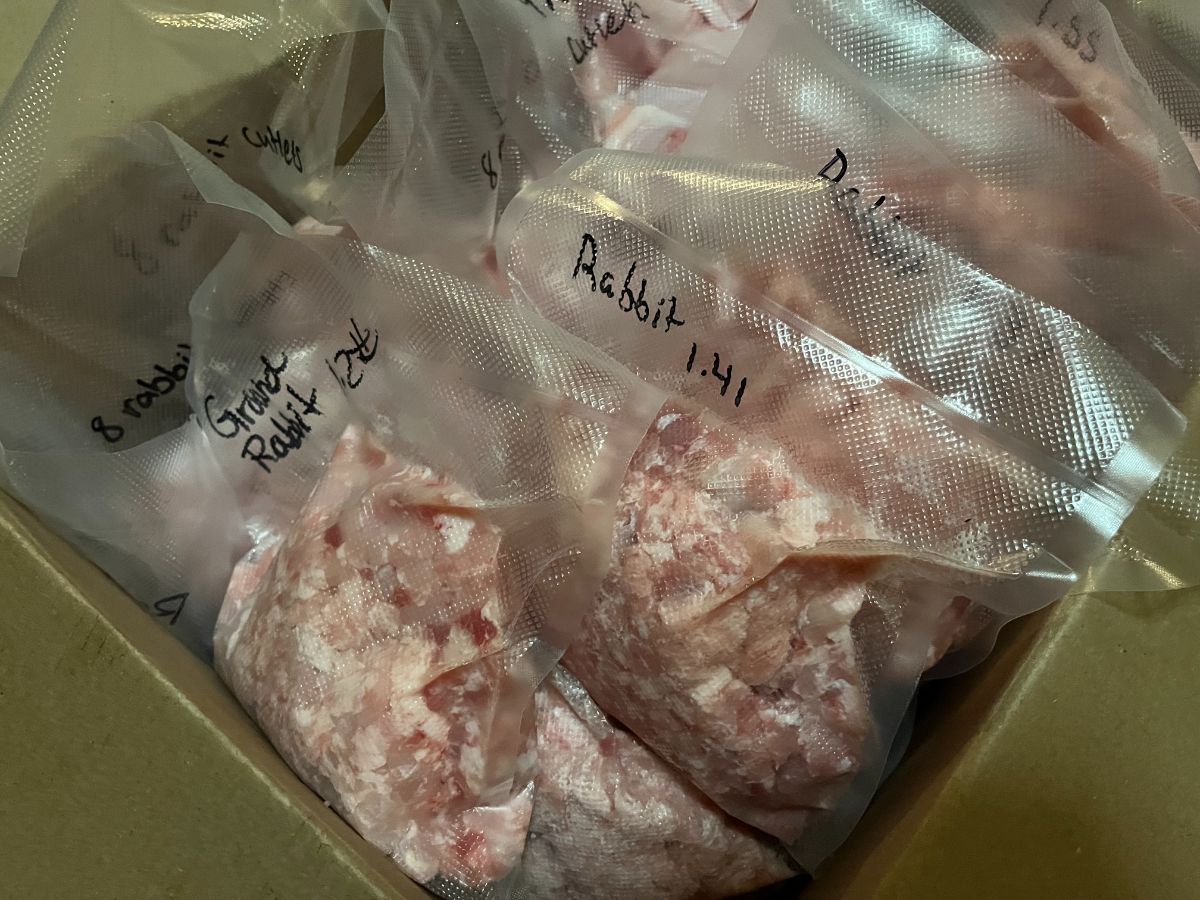
- Pack the meat in freezer bags, seal it, and freeze it immediately.
- Fresh ground meat is also good in the refrigerator for up to three days. For best quality, after three days, it should be cooked or frozen.
Tip: On the final pass, you can place your bags over the mouth of the grinder and grind directly into the bags—time saver!
Aside from this advice, there is no right or wrong as long as you keep the meat cold, practice good hygiene and food safety, and create a product that you like. Feel free to experiment with different-sized plates and with the number of times you grind.
In the end, the whole point is to have food that you like and will use, so make it your own within the parameters of food safety.
How to Use Ground Rabbit Meat
You can use ground rabbit anywhere you would use other types of ground meat. It can be seasoned for sausage, used in place of ground beef, pork, chicken, or turkey in any recipe, and used in meatballs, meatloaves, soups, casseroles, and so much more. It can be made into burgers or patties (though you may need to add something like an egg for a binder because it’s so lean).
Make your homegrown ground rabbit meat your new grind of choice. And enjoy!!


Leesa
Thank you so much! I breed plenty of meat rabbits but my husband just struggles when it comes time to eating them (I do all of the processing). I have a load of minced (Aussie for ground) rabbit in the freezer but hardly anyone talks about using it. This was very helpful.
Mary Ward
Thanks! I'm glad this was helpful. You're right and you raise a good point -- no one talks a whole lot about using ground rabbit. Funny, because it is SO GOOD and works so well in many dishes. It absorbs flavor and blends so nicely. Everyone should use it!
Throw it in a chili, feed him up, and he will hooked! I use it in everything from pasta sauce to tacos, fried rice, and then some.